If you get a bad photo, you have to live with it for a long time, which is why it’s important to get it right. You don’t need the most expensive equipment on the market in order to look good in your ID photo – just a serviceable camera, an affordable ID card printer and these four tips.
Choose A Basic Background
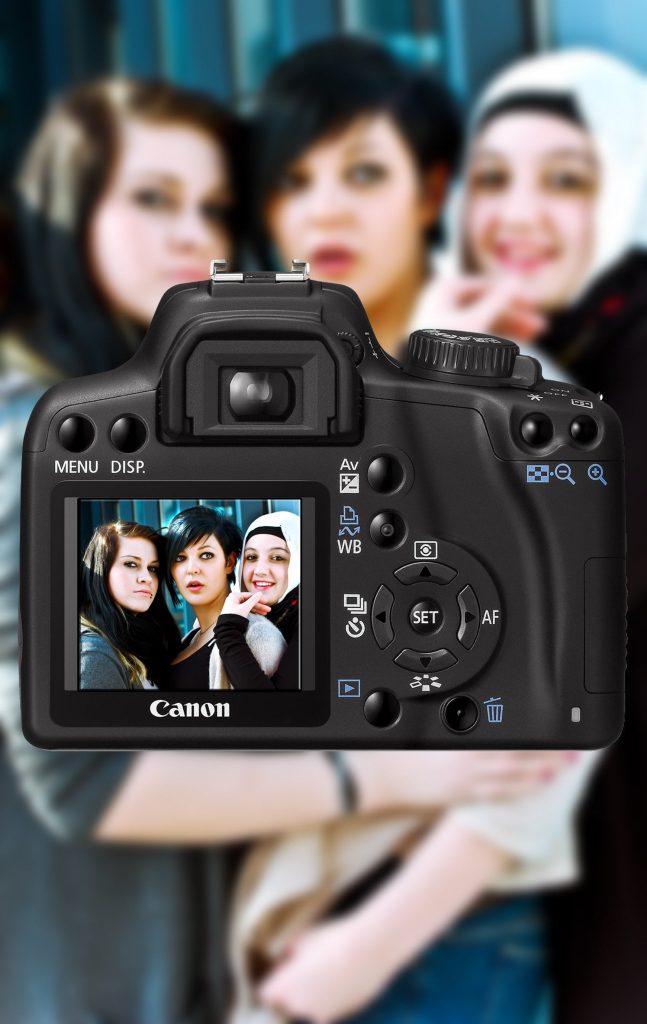
Don’t distract from the subject of the photo with a patterned or brightly colored background. Choose neutral backgrounds, in order to better emphasize the subject’s face – after all, the purpose of an ID photo isn’t necessarily to create something visually interesting, but rather to ensure quick identification of an employee.
Get The Lighting Right
All too often, you see photos with a hot light on the subject, casting unsightly shadows and illuminating every blip and blemish. This isn’t good photography. Use soft lighting – or even natural light, provided that it’s not too strong. This video gives a pretty solid explanation of how to light an ID photo simply, but if you have access to multiple lights, try the three-point lighting system, which uses triangulated lights to reduce shadows and brighten the subject’s face.
Secure The Camera With A Tripod
As steady as your hands are, they are no match for the sturdiness of a tripod. Check out this list of the best budget tripods to use if you don’t already have one. When you get your tripod, assembly should be pretty intuitive: just extend the legs, screw or affix the camera on, and set your angle. Once you’ve set everything up, resist the urge to move the tripod in order to maintain consistency across company photos.
Mona Lisa Smile
An ID badge is not a passport, and you don’t have to look like you’re giving a mugshot. At the same time, you don’t want a gigantic, toothy grin on your face either. Strike a balance – give the camera a Mona Lisa smile, a suave, confident and light-hearted smile that conveys contentment. If you’re the one taking the photo, coach your subject a little to achieve this (they’ll thank you for it). If you’re the subject, try practicing your smile in the mirror that morning! On the day, wear simple colors that aren’t too similar to the background, and tidy up your hair – there’s nothing worse than having stray hairs in your face.
With these four tips, you can make certain that employees will love their ID badge and wear it with pride. Now, if only you could do the same for your driver’s license photo!