-
Clear the wall:
When it comes to plastering in Auckland, most plasterers would tell you that you need to be more worried about the dust, grime, grease, or any stains on the wall than anything else. Plastering is an art in itself and one important criterion is that you need to control the suction. But before that, you need to clean and scrub the walls thoroughly, so that all the dust and grime that had accumulated over time is removed completely. And then, you need to wash the walls, scrub them dry and sand them to remove all the old traces of plaster. This is critical, and without following due process, your plaster would either not stick to the wall or all the moisture contained in the mixture would get sucked out, the moment you apply the coat. And trying to apply plaster onto a fast-drying wall is a nightmare most contractors have and one that you need to avoid. Before applying the coats, make sure that the wall is slightly damp to allow the plaster to bond firmly with the wall.
-
Use a backing coat:
When applying plaster to the wall, you can opt to use a sand-based backing coat, as it should come in handy. Just use some sand, along with cement and plasticizer, and you need to apply this evenly across the wall. Just don’t worry if the application does not appear even or even smudged; as you apply the plaster coats, it should take care of the same. Do remember to allow for at least 24 hrs, for the backing to set before you apply any plaster on the walls.
-
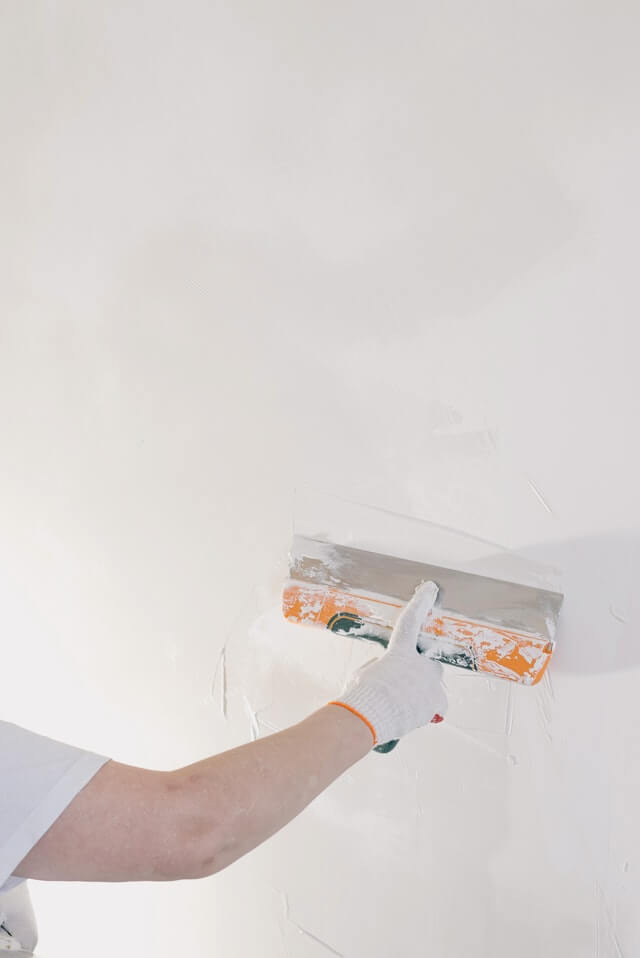
Apply two coats:
When it comes to applying plaster to the walls, you should always apply a thin coat at the beginning followed by a slightly thicker coat. You need to give time for the first coat to be cured before you apply the second one and one of the reasons you have to apply at least two coats, is so that the plaster bonds more firmly to the walls, and does not fall off in patches. Remember that you need not wait for the first coat to dry up completely before you apply the second one. Just wait until the first coat has been set, but the mixture still needs to be moist enough as you apply the second coat.
-
Flat, Flat, and Flat:
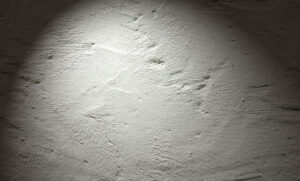
One of the rookie mistakes that most homeowners make, even after reviewing all the information online is by trying to make their application smooth. You just need to aim for a flat appearance and that’s it. Once the application is done, you can use a skim on it, later on, to make sure that it is smooth as well.
These are some of the essential tips that you need to review way before you begin plastering the walls. Remember that when it comes to plastering, it is essential that you get the composition right. So feel free to approach professional contractors for any tips regarding plastering and how to go about it.